Well folks, we’ve made it to the third and final blog of our Small Ways to Progress Your Surfing Series!
This time around, we’ll be focusing on things like:
- Ways to improve our paddling strength and efficiency
- How to improve our grip strength for turtle rolls
- The importance of neck strength and how to develop it
If you’re new here, we recommend you take a moment to review our previous blog in the series – where we explored how to master the pop-up.
If you’ve already nerded-out with us on the previous two blogs and have been waiting for this final blog, we’re ready to dive-in if you are!
Unleashing Your Full Paddle Power
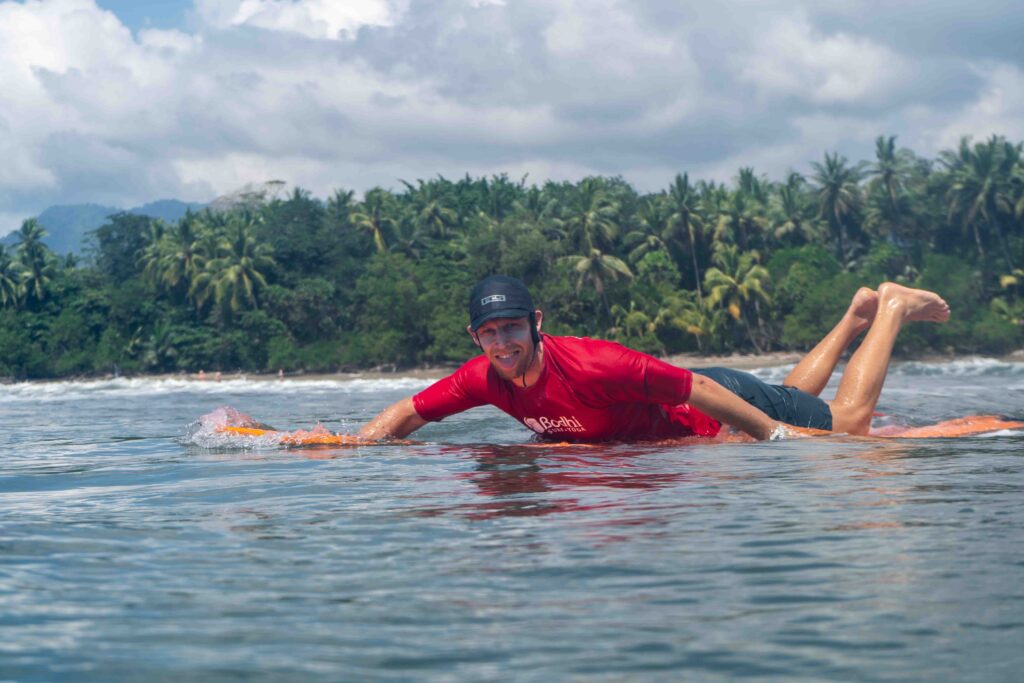
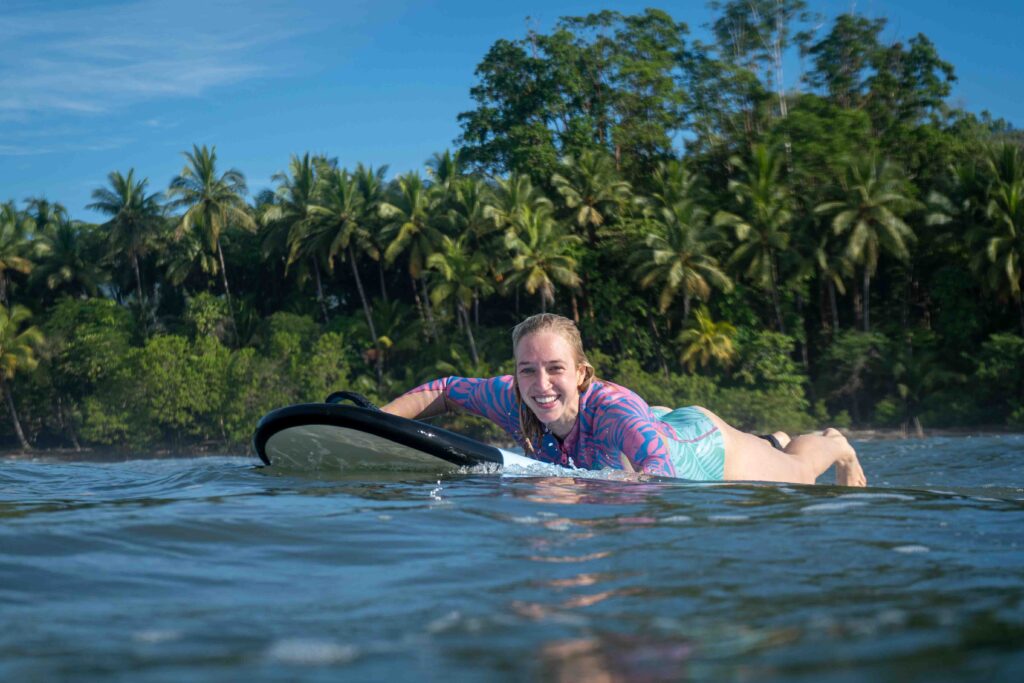
Beginner surfers are often humbled by how much effort, strength, and stamina it takes to paddle out to the green waves.
Like with many skills, you have to put in the time to get better and there’s no other way around it.
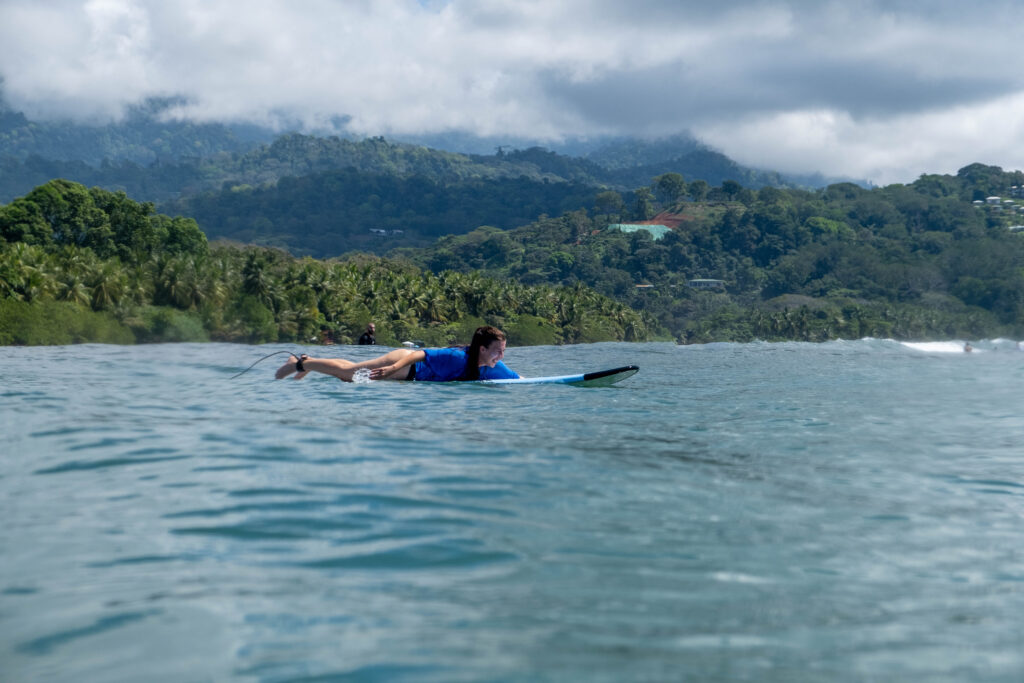
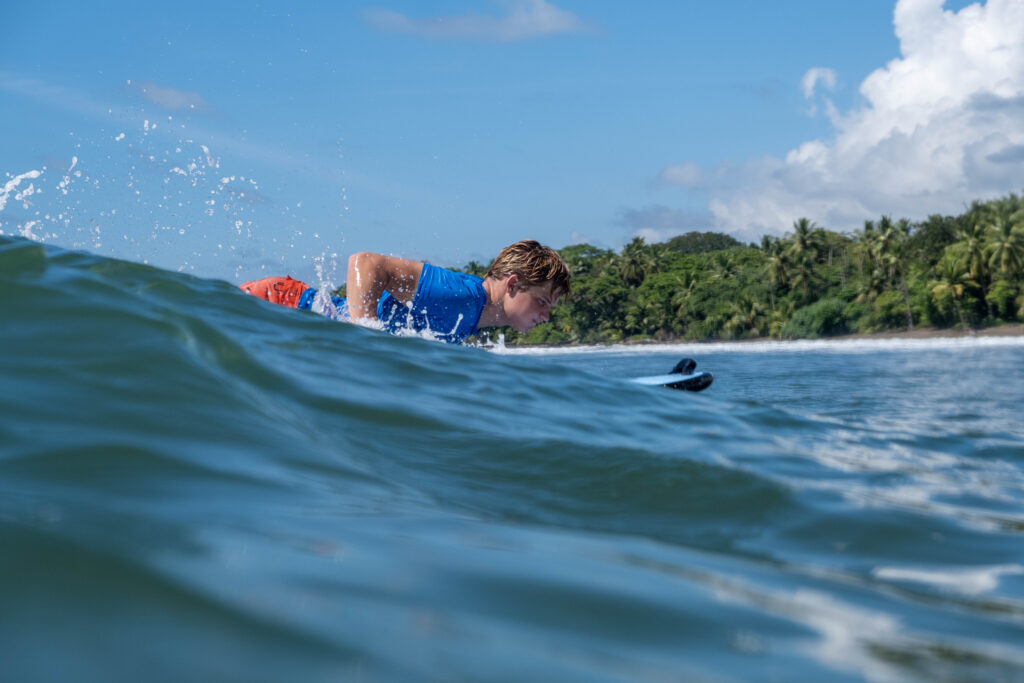
To help you improve on paddle technique, we’ll look closely at the extension of the arm as your hand pushes along the rail of your surfboard. The more you can utilize your full range of motion with your arm, the more efficient and powerful paddling you’ll have.
As you’re transitioning from a soft top to a fiberglass surfboard, you’ve probably noticed how the boards glide in the water as you paddle them. Obviously, it’s not efficient to turn over your arms as fast as possible, you may be hindering the length of your hand pushing the water.
Speed and power
Let’s compare paddling to sprinting for a second.
The fastest sprinters out there have a combination of both stride length and leg speed. Someone can be moving their legs super fast, but if their stride length isn’t long, they’re not running as fast as they could.
A longer stride length requires more power from the legs. It’s almost like each stride is a jump. There’s a balance of speed AND power here.
The same principle applies to paddling on your surfboard. Whether you’re paddling through the whitewater or catching a wave, speed and power of your arm strokes will get you there efficiently. Let’s look deeper into your arm’s stroke length and technique.
The two secrets to a powerful stroke:
First, as your hand dips into the water and begins to push, you want to make sure your hand stays close to the rail of your surfboard. This allows efficient force direction to propel you forward and straight.
If your paddle strokes are at a wide angle, further away from the rails, then you are pushing the water more to the side and the reciprocal force does not go directly behind you.
On top of that, with each wide stroke, you are slightly turning your board to the left and right, which is not efficient to go in a straight path. By keeping your hands close to the rail, the direction of force goes towards the tail and in the direction you want to go.
Secondly, let’s look at your stroke length. You may be cutting yourself short with how much your arms are extending in the followthrough of each stroke.
To give you a visual, stand up and pretend you are paddling. Notice how close your hand goes to your waist and how far it pushes beyond it. You want your hand to pass close to your hip, and as soon your hand passes your hip you want your elbow to extend.
With your hand close to the hip you are pushing water in the optimal direction. With extending your elbow you are increasing the length of your arm, thus increasing your stroke length. The primary muscles engaging here are your triceps to extend the elbow and your latissimus dorsi (your big back muscle) to push and follow through past your hip.
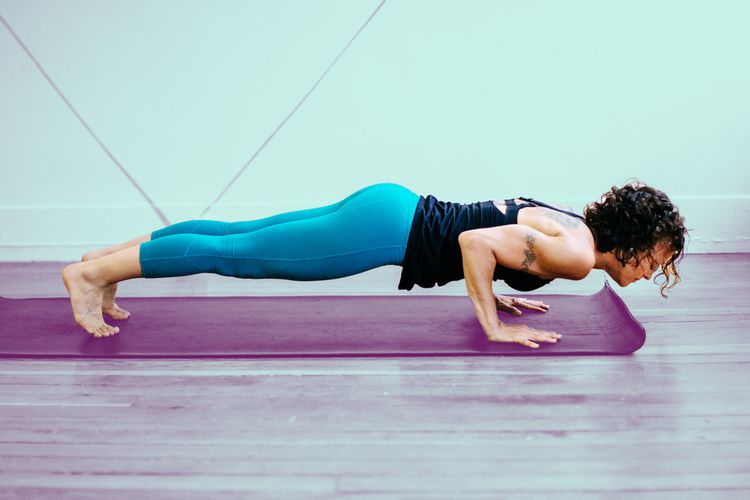
Pushups – the key to building paddling strength
Love’m or hate’m, pushups are an exercise that have so many benefits for your body… and for your surfing!
We’ll talk about a few variations of pushups to help with your popups and paddling. All the principles of a proper pushup workout can directly apply to surfing. Oftentimes beginner surfers are humbled by how much effort is required to paddle in a surf session.
How you perform pushups can also help out A LOT with your popups. Remember the difference between a longboarder and a shortbaorder popup?
Pushups for longboarders – slow and controlled
Slow, controlled pushups will help you out with isometrically holding the cobra position before swinging your legs forward. You can even hold a half rep, isometrically holding this position to train your endurance. This will help out popping up with a longboard style.
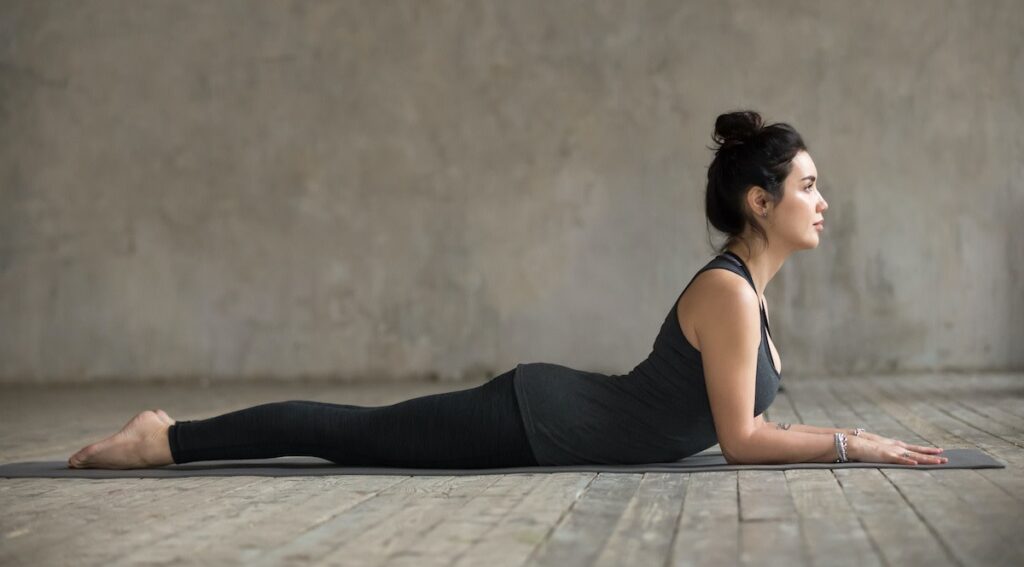
In your yoga practice, the chatarunga position is what you want to work on here. The flow from a standing position to upward facing dog is wonderful to practice for longboarding. As with a yoga practice, mindful, controlled movement is best as opposed to many reps.
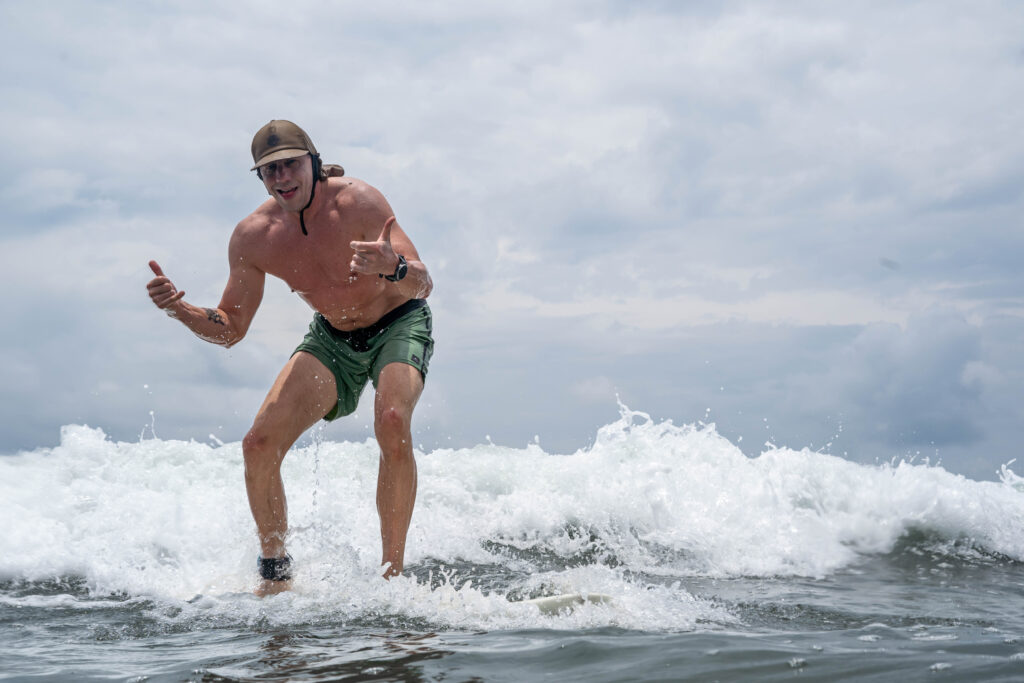
Pushups for shortboarders – fast and explosive
With riding shortboards requiring a more explosive popup, plyometric style pushups are the perfect training exercise. Think of plyometric exercises as explosive movements, keeping the least amount of time away from the bottom or top of a repetition.
In sports fitness terminology, what you are training here is the amortization phase. This is the brief moment in between the eccentric phase (lengthening of the muscle) and the concentric phase (shortening of the muscle) during explosive movements.
To give you a visual, let’s look at the clap pushup. Pushing into your hands as hard as possible to get them in the air to clap is the eccentric phase. Absorbing your body weight with your arms as you land is the concentric phase. The small time in between the rep, where you are loading up to push off the floor again, this is the amortization phase.
This requires a lot of force generation. You are also training your nervous system to fire a ton of neurons into your muscles (unless you’re Master Yoda, can you imagine him surfing?). This style of training requires good technique AND time to allow your body to adapt. This means you start with just a few reps and take plenty of rest in between sets.

Here’s a pushup variation to help out with paddling
Start with your body prone on the floor having your toes tucked and core firm.
This kind of push up is having your hands in line with your chest and your elbows pressing into your ribs. While you’re pressing up and lowering down, it is essential to keep your elbows close to your side the whole time.
With your elbows close to your body, you will target your triceps and your lats more, the muscles to get that extra stroke power for paddling.
Adjust and position your body, like with knees on the ground or hands on a bench, to make sure you can perform 10-20 reps with good form.
Grip Strength and Surfing: Do You Really Need It?
You may be thinking, “what grip strength do I really need with surfing?”
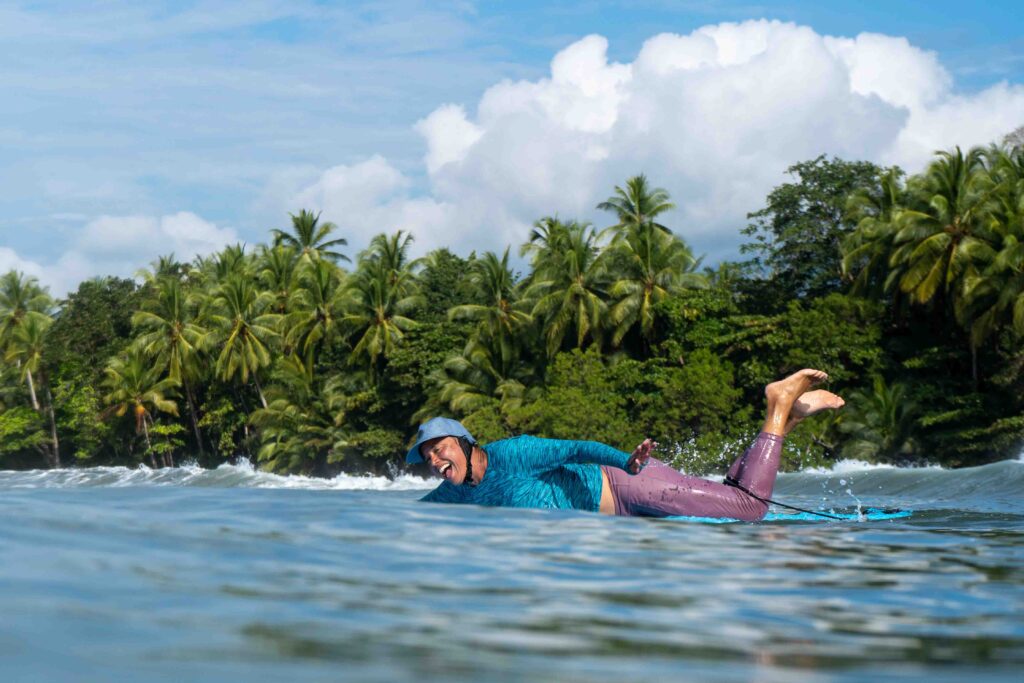
As you progress to riding bigger waves you will be performing turtle rolls with longboards and mid-lengths, and then duck diving with smaller boards.
You may have already been paddling through the whitewater and experience being tossed around while white-knuckling your board. Being able to hold onto your board tightly can help you get through the inside waves faster and keep you and other surfers safe from a loose board.
Depending on size, surfboards can weigh up to fifteen pounds. They have plenty of surface area for a wave to catch them just the right way to practically become a sail with who knows how much force.
On top of that, there aren’t any handles on the rails to hold onto. A surfboard shape has smooth lines to flow through the water – there’s really no place to have handles. On top of that, being in the water doesn’t add an advantage to having a good grip. Therefore, having strength in the hands and forearms is super important for your surfing progression.
Check out our blog on how surfboards are made to get a better idea of what the anatomy and composition of a surfboard includes!
1. Mastering the “Power Grip” Position
The way you hold your board determines how much control you have during a turtle roll, duck dive, or a heavy “spin cycle.” To maximize your leverage:
- Maximize surface area: Hold both rails with your thumbs on the deck and fingers wrapped firmly around the rails – this is the ONLY time we’ll be telling you to hold the rails!
- The “nine and three” rule: Keep your hands aligned, much like holding a steering wheel at 9 and 3 o’clock. This gives your chest and back the best mechanical advantage to absorb force.
- Neutral wrists: Keep the top of your hand in line with your forearm. Avoiding bends in the wrist—similar to how a martial artist aligns a punch—protects your joints from injury during impact.
2. Functional Training for Surfing Grip
While traditional gym equipment like barbells and dumbbells are excellent for general strength, they have a limitation: they don’t allow your hand to close fully. This means you’re ONLY training about half the range of motion of your hand.
Since forearm muscles respond exceptionally well to high repetitions and full-range movement, it’s beneficial to supplement your lifting with exercises that allow for a complete squeeze.
3. Beach-Ready Grip Exercises
You don’t need a fancy gym to build elite grip strength; you can use what’s already at the beach:
The Towel Wring: Soak a towel in the ocean and wring it out completely by squeezing your fists and rotating your wrists back and forth. This mimics the “door knob” turning motion and builds endurance in the forearms.
The Sand Squeeze: Find a patch of soft sand. Press your fingertips in, then squeeze your palm into a tight fist, grabbing as much sand as possible. Hold for two seconds and repeat until you feel the burn. This “martial arts style” training provides resistance through the entire range of motion.
Mastering the mighty turtle roll
Super convenient to segway into our next small tip for a big difference in your surf journey, the mighty turtle roll. This maneuver is used primarily for longboard and mid-lengths – basically any board you can’t push the nose down for a duck dive.
Check out our blog for a more comprehensive guide to paddling out and the turtle roll. Today, we’ll talk about some techniques and exercises to help you progress.
It’s all in your core
A big part of performing a turtle roll is using your core strength.
Turtle rolling really feels like you’re wrestling with your surfboard. By flipping it over and hiding underneath, this allows bigger waves to slide right over you. There’s a lot of core engagement and grip strength to perform them, and most likely you’ll be doing more than one as you’re paddling out into the lineup.
Besides practicing your planks and pushups, the turtle roll uses a ton of anti-rotational core stability. This means you are holding your core in a position and resisting an outside rotational force. This also means that you are not allowing your body to flail all over the place like a ragdoll when performing a turtle roll.
Even more pushups!
A great way to practice anti-rotational core strength is to hold a plank and move an object side to side across the floor with your hands. If you’re at home, any weighted object can work. Here’s a great explanation of the plank pull-through by Kettlebell Athletes. If you’re at the beach… you guessed it, you can push the sand!
The key to this exercise is limiting the amount of movement your torso makes while moving the object side to side. Basically, the only body part moving is your arms. While in a plank position, cup your hands to move sand towards your chest and away from your chest. The more you dig into the sand, the more resistance you create.
Had enough pushups for one day?
If you’ve had enough pushups and planks for the day, another great way to practice anti-rotational core strength is to find a tree and push on it.
Luckily for us, Playa Chaman in Uvita, Osa, Costa Rica has plenty of tropical trees. You can also find any wall or tall, solid object.
Before you start – if you’re at a tree, look up to see if there’s any coconuts to make sure they won’t fall on you. Stand close enough to the tree so that your hands reach it. Have a stable stance, bring your hands together to one side of the tree, and push the tree using your whole core strength.
Obviously, you are not going to move the tree. The point is keeping your spine straight and not rotating your torso. You are isometrically holding the force.
Hold for about twenty to thirty seconds for a rep, and make sure to do the other side. You can also find a fellow surfer friend and push on their shoulders. It can be a friendly competition to try and push each other off balance.
The Final Piece of the Puzzle: Neck Safety and Strength
As you’re progressing into bigger waves you’ll notice more and more how much you are using your neck.
Your head is on a swivel while paddling through waves, checking for other surfers before you popup, and watching your surf compadres catch their own waves.
A lot of people have tight shoulders and chests from being in a hunched position like in an office job. Maintaining a proper posture is super important for life. Here, we will look at how to turn your head for safe and efficient movement, particularly with paddling and popping up.
Head on a swivel
It’s good to think of your head to be on a swivel – like an owl. Your head turns but your body is stable.
A common habit is allowing the shoulders to move while turning the head. This can create a lot of strain on the neck.
Fitness coaches have their work cut out for them when it comes to their clients and their shoulders. You may have been told once, or thrice, to keep your shoulders down while performing an exercise with the upper body. The same applies to when you’re paddling and popping up.
You want to engage your trapezius muscles in your shoulders to both keep them from rising up and back from hunching forward. By doing so, you can have more efficient movement for paddling and more room for your head to turn.
Check out our blog for some physical yoga postures that will prepare your upper body for surfing!
Here’s a simple test to feel how your shoulders work
Squeeze your shoulders all the way forward and then lift up your arms as high as you can.
You won’t be able to reach totally vertical. Next, bring your shoulders back and raise your arms again. You will notice how you can bring the arms more vertical. You may gain more range of motion and more power to your paddling by adjusting your shoulders.
As you’re about to popup and catch a wave, you have learned to check for other surfers, and also to look down the wave to where you want to go. You want to really make sure that your shoulders are in a good position because your head is turning strong and fast.
Follow along to our YouTube video to build strength in your arms and shoulders!
Hold Your Head Like a Sphynx
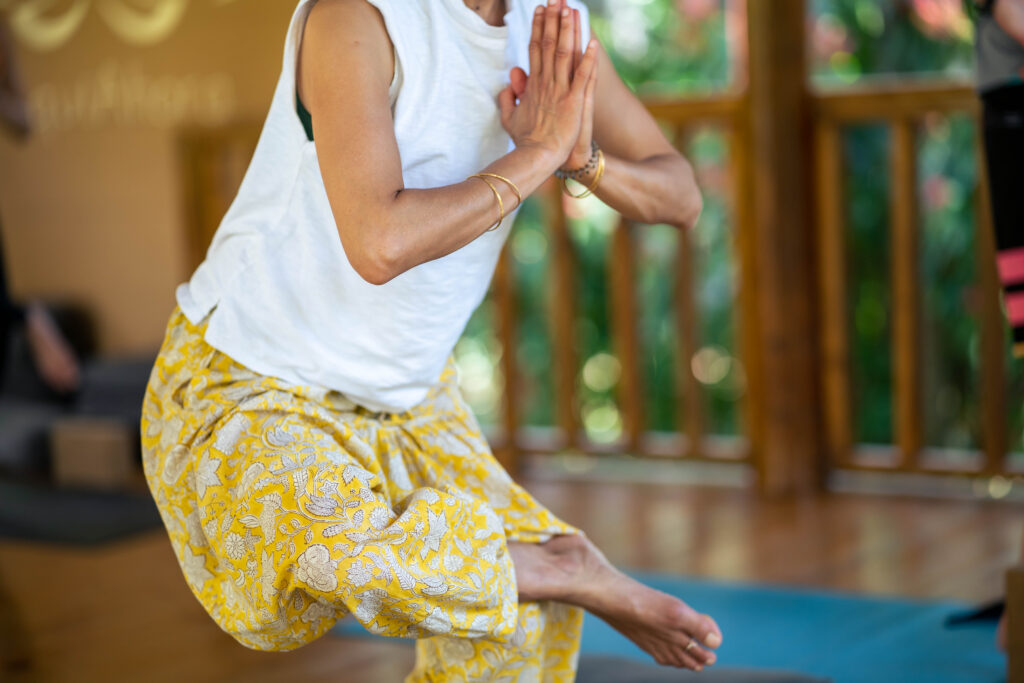
If your shoulders move with your head turning, you may put unwanted weight on one side of your board, thus making it harder to control. A good exercise to train the shoulders while turning your head is in Salamba Bhujagasana, or Sphynx Pose.
This pose is also a nice restorative back bend. Start prone on your stomach and place your elbows under your shoulders to lift your chest with the arms straight in front of you. Pretend like the top of your head is being pulled by a string to the ceiling and squeeze your shoulders back and down away from your ears.
Next, turn your head slowly all the way to the left and right. Make sure to also look with your eyes, as well. While you are turning your head to each side, the important part is keeping your shoulders still. Your shoulders should stay in line with your forearms and hands the whole time.
This exercise will train the muscles and your brain to keep the shoulders steady while your head turns. Turn your head side to side for about five reps and then slowly bring the chest and forehead down to the floor, or yoga mat, to relax in a nice neutral position.
That’s a Wrap With a Big Spray
Phew! We started from the toes and went all the way up the body to the head. These little tips and exercises can take any beginner surfer to the next level.
When training out of the water for surfing, it’s good to keep in mind that these exercises will help you surf stronger and longer. The more waves you can catch in a session, the faster you will progress your surfing.
At Bodhi Surf and Yoga, we want all of our students to learn how to surf for a lifetime, not just for a vacation visit. That means we put in the time and effort to teach things like:
What we’ve gone over brings attention to the little things: the smaller muscles, the techniques that aren’t really noticeable, and the dedication behind the scenes to bring your inner surfer to your outer life.
If you’ve stayed at our lodge before and had the experience of a lifetime, we hope to see you again to continue your progression. If you’re an experienced surfer looking to advance your skills, look no further! We accommodate all levels and all styles of surfing, from longboard flowing to shortboard shredding.

For First-Time Surfers
You Don't Need Experience. You Don't Need Gear. You Just Need This.
Our free 5-day email course that reveals the 5 myths keeping beginners at "I'm not ready" instead of catching their first wave and finding inner peace-and how to overcome them fast.
Ayurveda for Beginners: Understanding the Three Doshas and Your Unique Body Type
Words by Pilar
In this month’s guided deep-dive with Pilar into the fascinating science of Ayurveda, we explore the forces and energies that govern all physical and mental processes in the body – AKA the…
Small Ways to Progress Your Surfing: Mastering the Pop Up
Words by Guest Post
Welcome back to our three part series on Small Ways to Progress Your Surfing. In the first blog, we explored: This time around in the second blog of the series, we’ll be…

5 Reasons Why a Surf + Yoga Retreat Should Be Your Next Big Bucket List Adventure
Words by Travis Bays
If you’re reading this, chances are you’re experiencing a little restlessness. You’ve scrolled past the passive beach vacations and you know, deep down, that your next trip needs to be different. It…