Welcome to the first of our three-part series covering the small things that make a big difference to your surfing!
You are most likely reading this because you’ve taken some surf lessons – hopefully some of them have been with us! You’ve watched countless videos on how to pop-up, how to paddle, and how to stand on a surfboard. Maybe you’ve even been catching some green waves and have emerged from the white water battle grounds.
Congrats! You’re ready to take your surfing to the next level. In this first blog, we are going to talk about the little things that can make a BIG difference to how you surf, focusing on:
- Foot strength
- Hip power and rotation
- Lower back strength
We’ll dive into some techniques and give example exercises to squeeze out more performance when you’re in the water.
From your toes all the way to your fingers, this blog series will explore some aspects of surfing that don’t get enough attention. These can help you paddle stronger, flow with turns, generate speed, catch more waves, and prevent some of the small, frustrating injuries.
Starting From The Sand Up: Foot Strength
Let’s start with the feet. Specifically toe strength. Most people surf without shoes on… unless you’re a cold water surfer with booties, but we’ll exclude them for now. Costa Rica’s got that warm water, ya’ know?
The secret is in the toes!
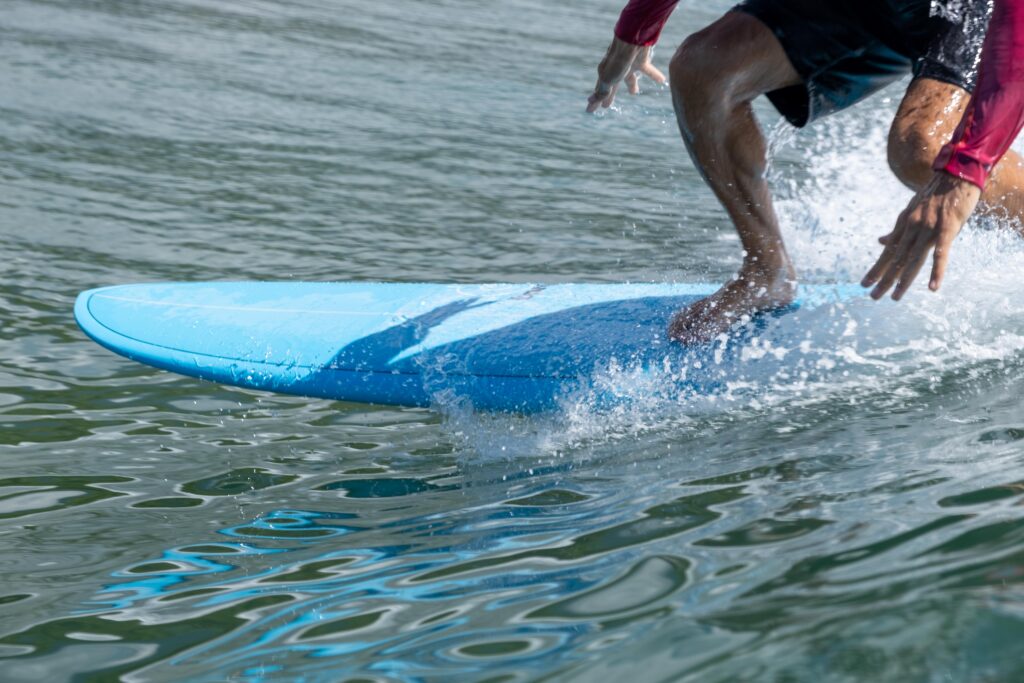
From the moment you stand up from your pop up to carving up the wave face, your toes are engaged and gripping the surfboard. Particularly the wax on your surfboard. One cool thing to do is to see how the wax gets pushed around on your surfboard. There, you can see where your feet are going and what they are doing.
Most of us wear shoes throughout the day. If you’re living the Uvita life here in Costa Rica, the typical footwear is sandals and flip-flops. With that being said, the shoes don’t allow us to grip the ground with our toes.
Ask any veteran surfer and they’ll tell you that they have had foot cramps out in the lineup. NOT FUN. There is a lot of pressure going to the feet as you make turns and hold onto the board.
Your feet are what connect you to the surfboard while catching a wave, so it’s important to strengthen and stretch the toes. This will also affect the arch of your feet and how you distribute your weight across them.
How to improve toe and foot strength
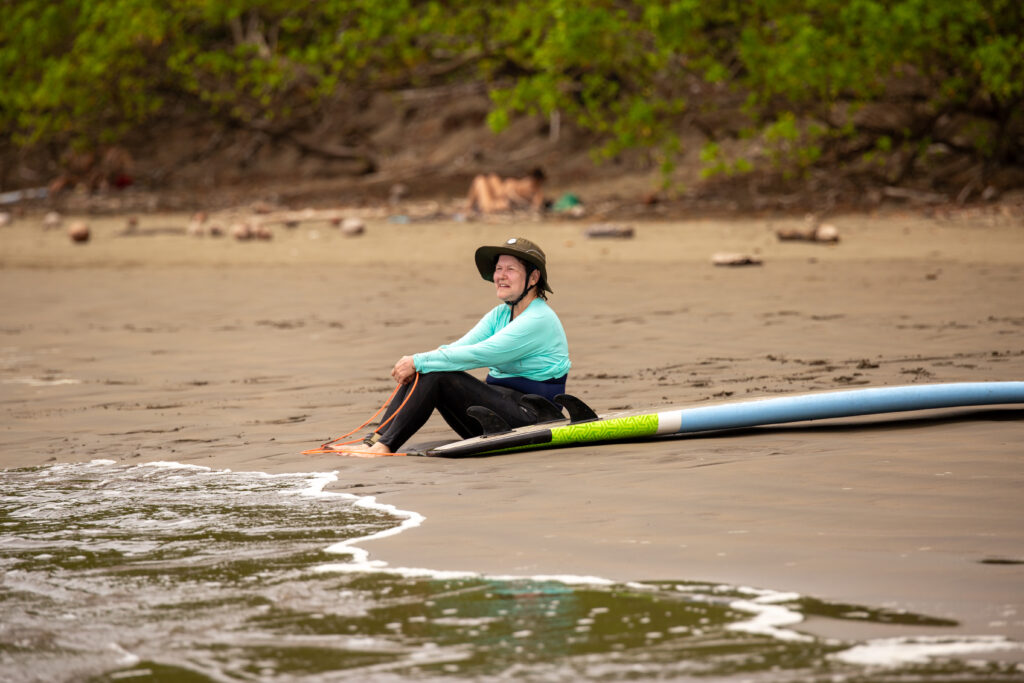
The first thing to do, and hopefully the easiest, is to walk barefoot more. Walking without shoes can help spread the toes out more, along with giving them the opportunity to feel and grip the ground beneath them.
Luckily, here at Bodhi Surf and Yoga, there’s opportunities to let your feet be free of shoes. Our yoga classes emphasize being barefoot, and Marino Ballena National Park is right down the road to take long walks on the beach.
And speaking of yoga – there are tons of yoga stretches that help improve our strength and balance that translate to better results in the waves.
Walking in sand is another great way to strengthen the toes as the unstable sand forces your toes to dig in. Another great way to strength train the feet is to walk up to your shins in the white water. With the waves pushing in and pulling out, this adds extra resistance for your feet to hold on tight to the sandbars.
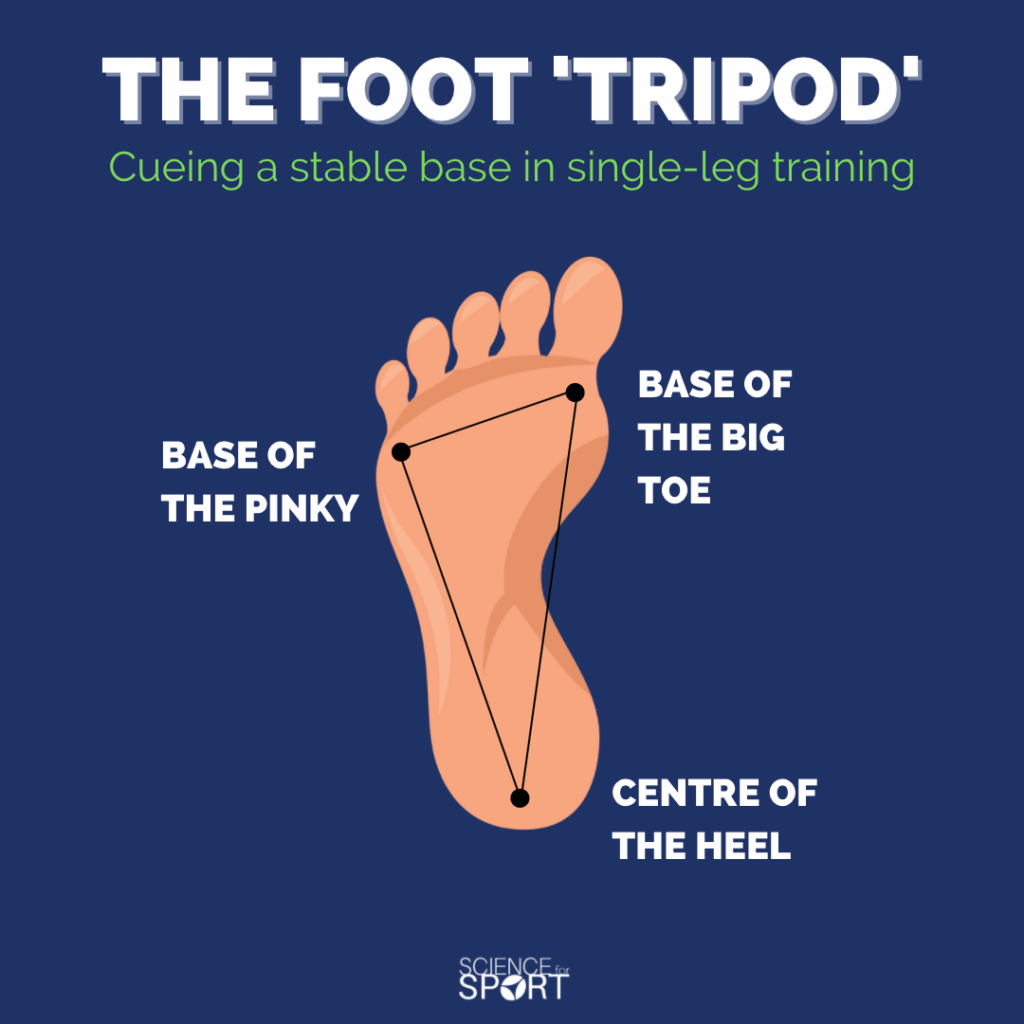
The Tripod Within Your Feet
To dive into a little more detail, it’s good to think about three points of contact your feet make to the ground, and, more importantly, to your surfboard.
Going back to geometry class, let’s imagine three points at the bottom of your feet. The first point is at the knuckle of your big toe. This is where a lot of force is transferred for running, jumping, and making quick turns. On a surfboard, one example is you’ll put your weight there on your front foot to engage the frontside rail.
The next point is located at the knuckle of your little toe. Primarily, this point is to maintain stability and balance, especially if your heel is lifted. In many maneuvers, your front foot will have more pressure at this point when engaging the backside rail.
Our last point is at the center of your heel. Think of this point as the strong base and foundation for your feet. Without it, it would be very easy to lose balance doing anything standing up. You will put more weight on this point to engage the backside rail, as well.
So, these three points make a triangle, or tripod, on the bottom of your feet. Triangles are the most basic structures for stability and balance. If you balance on one foot, you will notice how the pressure transfers across all three of these points to maintain stability.
While riding your surfboard, all six of these points beneath your feet are constantly shifting with the weight of your body. Just like what you will learn with your hips, there’s a constant push-pull relationship with your feet when performing maneuvers on a surfboard.
Adding to Your Leg-Day at the Gym: Calf Raises
A proper exercise to strengthen the arches and the toes is calf raises. To really get the most out of them, it’s important to try and push as much as you can off the toes, raising your heels as high as possible.
Because the feet and ankles can move in so many dynamic ways, it’s good to do these calf raises with the feet straight, turned inward, and turned outward. Check out our blog: Fitness for Surfers, for more info!
Another fantastic way to exercise the toes and feet is during a yoga class with standing postures – like this one. Whenever you are on your feet you can scrunch the toes into your mat and take the postures to another level of control and stability.
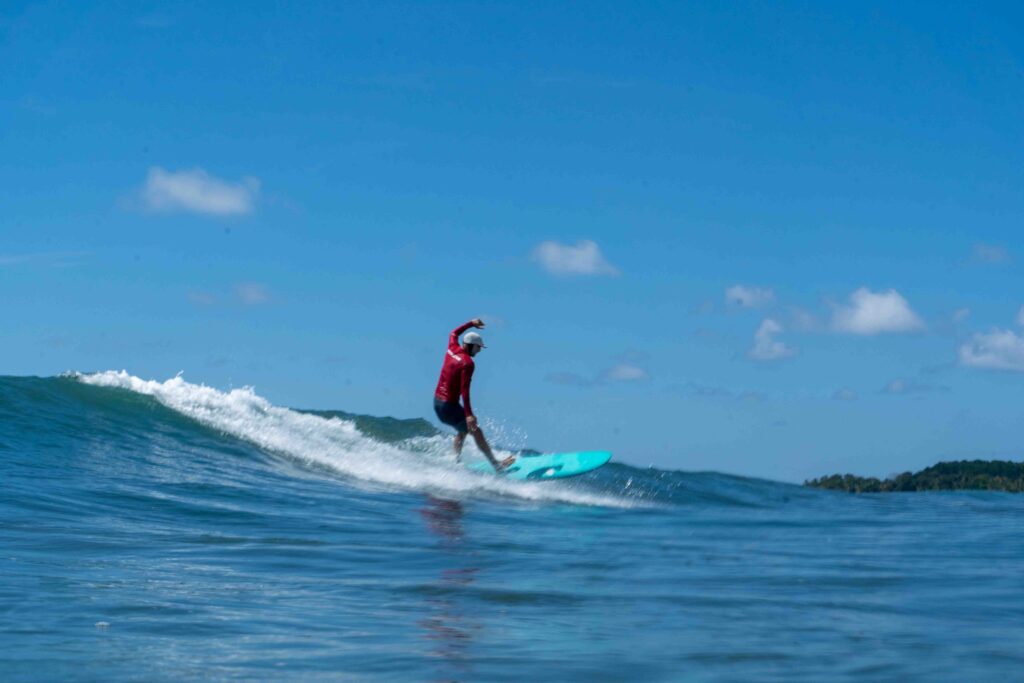
The Power Comes From Your Hips
Moving up the body to the hips, we find where most of our power is transferred when riding waves. Surfers are squatting, hinging, opening, and closing their hips to generate speed and perform maneuvers.
Before we continue to explain how hips work with surfing, we have to keep in mind your knees here. Knees like to bend or hinge, kind of like how door hinges work. What they don’t have a lot of range of motion in is twisting.
This is a ‘kneed to know!
The knee twisting is when it’s pointing and leaning in the other direction of your toes. Then, if your hips and torso are pointing in the other direction of your knees, there can be a lot of force put into the joints.
When you have optimal hip and ankle flexibility, your knees can stay safe when surfing. Speaking of – here are some exercises that’ll keep you strong and safe while surfing
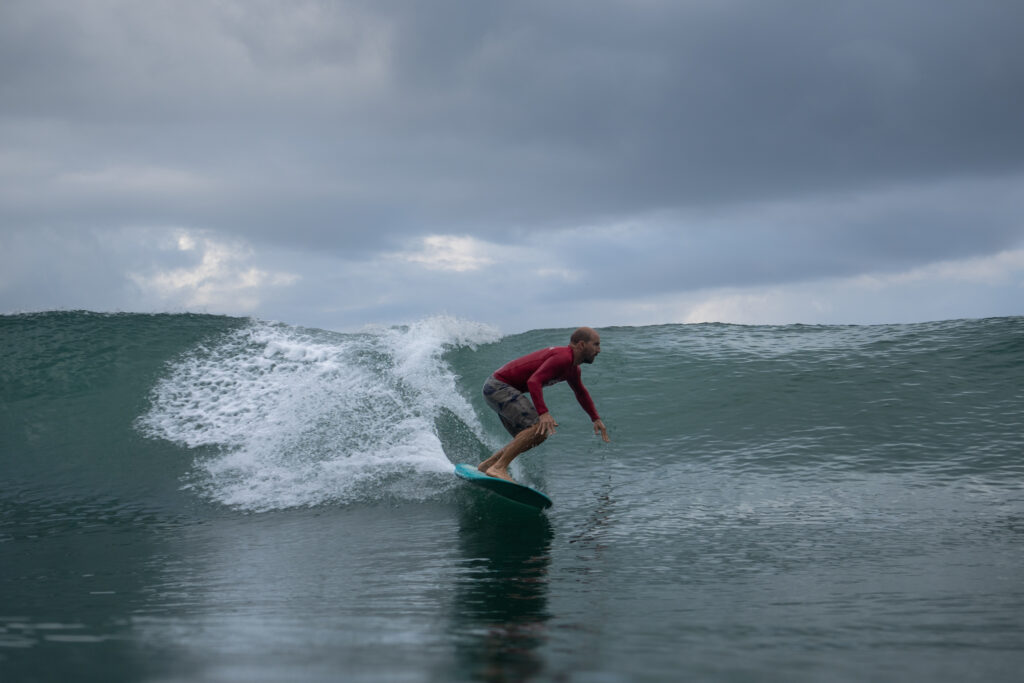
We will focus mainly on your hips internally and externally rotating when performing turns on a blue-green wave. This movement of your hips can be seen in many sports, especially sports like golf, soccer, and baseball, where there’s swinging, kicking, and throwing involved. Your hips are the key to putting down the force required on the surfboard to turn and engage the rails.
For example, when you are riding a wave frontside and you want to get closer to the lip of the wave, your back leg and hip are internally rotating. The bottom turn is how you can generate speed after you pop up. The same internal rotation happens when you are riding a wave backside and turning away from the lip.
When you load up your legs to prepare for a bottom turn, your back leg is internally rotating to explosively push the board in the direction you want to go. Your powerful glute and quad muscles are at work here. The muscles that are closer to where your femur attaches to the hip are responsible for your leg’s internal rotation.
Now let’s talk about where your hips externally rotate when you are riding a wave. When you are going frontside and want to turn away from the lip of the wave, your front leg and hip is externally rotating.
Specifically for a cutback or fade maneuver, the front hip and leg are loading up and explosively externally rotating to the direction you want the surfboard to go. Here you are squeezing the glute muscles to bring your femur and knee outward.
Hips Don’t Lie
How does that song go? Something like: as you progress with your turns on a surfboard, you’ll notice that your hips are engaging in a combination of internal and external rotation. Yeah, that’s it!
No matter which direction you face the wave, and which direction you want to turn, there is a continuous push and pull of internal and external rotation of your hips.
You’ll notice with your turns that as your hips rotate the pressure to your feet changes. Everything goes back to your connection to the board. External rotation of the hips will put pressure on the heel side of your foot, and internal rotation will put pressure on the forefoot or the ball of your feet.
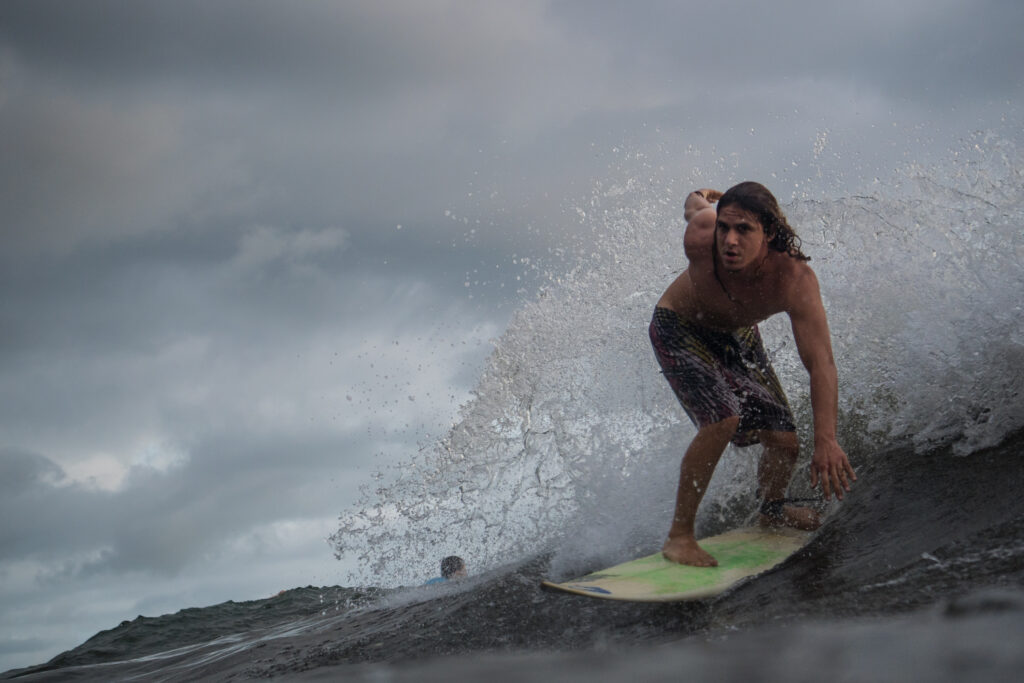
What You’ll See Pros Do
With more advanced surfing styles, surfers will turn their feet in conjunction with their hips to generate even more power. Turning the feet can help with protecting the knees from twisting too far, as well.

For example, when performing a sharp frontside bottom turn to hit the lip of the wave, surfers will lift up their back heel to internally rotate their foot and hip as much as possible to explode into the turn.
A cool thing to notice is looking at the spray of water the fins make off the wave. The bigger the spray, the more powerful the turn.
As they are coming down from the lip, turning backside, they might lift up the toes of their front foot to turn the heel and externally rotate the hip as much as possible. To conclude, by rotating the feet with the hips as much as possible, this creates more powerful and sharper turns that are spectacular to see.

90/90 Hip Exercise
A great exercise to work on hip mobility and strength is the 90/90 hip exercise. Here it is necessary to make sure that your knees feel comfortable. This could mean that you don’t fully bend your knees to 90 degrees or you place a pillow or yoga block under the hips. This will allow enough space with your hip mobility to keep your knees from twisting too far.
This position is a great stretch in itself. Your leg in front is externally rotating while your back leg is internally rotating. From here you can alternate from side to side, moving your legs like windshield wipers back and forth to work on mobility.
Taking it to the next level
To include some strength in this exercise, come to the 90/90 position and flex the muscles to lift and press the knees. Start with the front leg. Alternate lifting up your knee for external rotation and then pressing your knee into the floor for internal rotation. The same movements can be done with your back leg, as well.
Perform a few reps on each side along with some isometric holds for a few seconds. Your arms can be used to keep your torso upright. If you want to challenge your core, lift up the arms and hold them up as if you’re surfing.
Enjoy that? There’s plenty more where that came from! Have a go at some of these exercises for surfing.
Superman into that Wave: Strong Lower Back
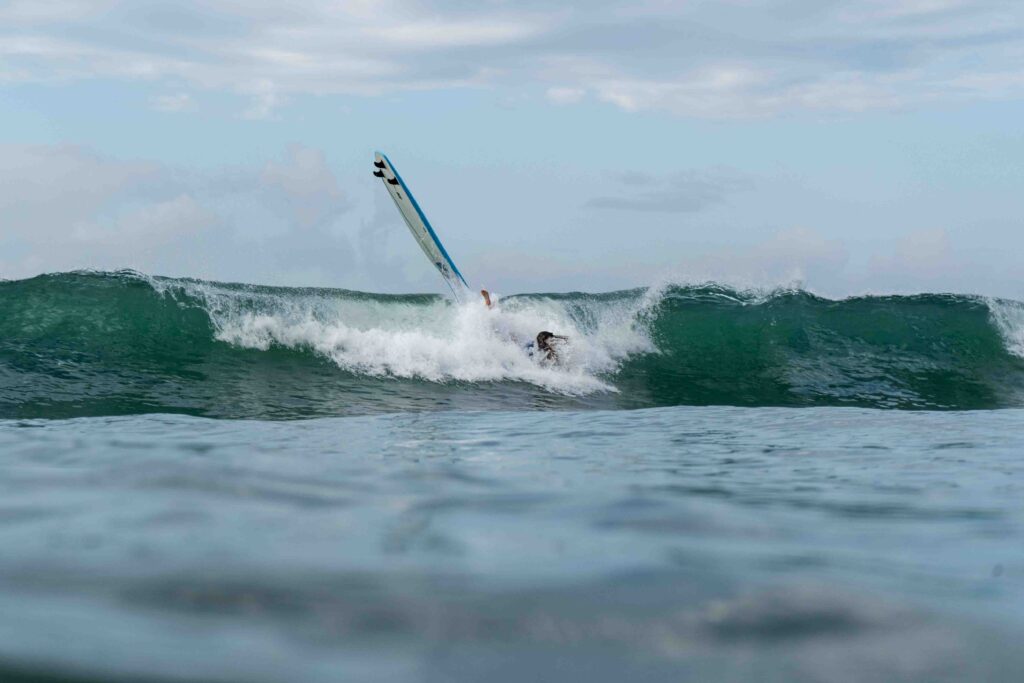
The next small technique to work on to make a BIG difference in your surf progression is your back extension. We will focus particularly on how your chest lifts for the pop up to create momentum and space to stand up.
You have most likely made the mistake of having your chest down too far which pushes the nose of your surfboard into the water. This creates a spectacular wipeout, where your board will shoot out backwards as you tumble forward (see photo below).
This is a great tale to tell your friends, but obviously we don’t want to do that. The timing and positioning of your chest is important here.
As you progress from the white water into steeper waves, the wave will lift up the tail of your surfboard higher.
A common mistake is the timing of the popup. If your popup is late, you have to lift your chest really high to allow the board to not nosedive. By the time you stand up the wave will most likely close out in front of you. Lucky for you, we have a blog post that teaches you how to pop up on a surfboard.
Having a strong lower back helps when you’re paddling hard into a wave or through the whitewater, keeping your chest and core stable to generate speed. What we will really emphasize here is your chest lifting up as you position your hands for the pop up.
Momentum is key
As you powerfully raise your chest to bring your hands up, you want to keep that upward momentum going when pushing with your arms to bring your legs into position. The explosive back extension is what initiates your pop up, it’s like a wave of energy.
This energy wave carries on with your arms being in a strong position to push and help lift your lower body into your stance. As your technique improves, your popup will feel more like you are swinging your legs.
Homework time
Before we dive deeper into the pop-up on different length surfboards, be sure to know the different stages of a wave. In our blog, Surfing Basics: How to Catch a Wave, you’ll find the information you need to understand the stages of a wave and how they work.
There’s a few caveats when it comes to your pop-up timing. One is how the wave is forming and breaking. Softer waves can take more time to give you enough push to finally stand up. This means that you may have to keep your chest down longer while feeling and looking down the wave for the right moment to popup. Dive into the different types of waves and the anatomy behind them!
Check Back In Soon For Part 2
That’s a lot of information that we’ve covered – so let’s call it a day for now.
But be sure to check back in SOON for part two of this three-part blog series on small things that make a big difference with your surfing progression.
Just to recap, in this first blog post we’ve covered:
- Foot Strength: The importance of strengthening toes and arches (the “tripod”) for better grip, stability, and control while carving.
- Hip Power and Rotation: Hips are the source of power for turns. The blog details how internal and external rotation are used to generate speed and execute sharp maneuvers while protecting the knees.
- Lower Back Strength: Using powerful back extension (like the Superman pose) to generate upward momentum for the pop-up, which is crucial for preventing nosedives on steeper waves.
We look forward to continuing and building our understanding in the next blog! There, we’ll start by covering some of the small things we can do to better our popup.

For First-Time Surfers
You Don't Need Experience. You Don't Need Gear. You Just Need This.
Our free 5-day email course that reveals the 5 myths keeping beginners at "I'm not ready" instead of catching their first wave and finding inner peace-and how to overcome them fast.
The Newbie Surf + Yoga Camp Kickstarter
Bust the 5 biggest myths about going to a surf and yoga camp so you can stop procrastinating and start catching waves - with our FREE 5-day email course.


How to Teach Yourself How to Surf
Words by Carly Stoenner
Learning to surf is more than standing on a board in the ocean. At its core, surfing is a physical, spiritual, and communal practice…

Is Surfing a Sport? And Why it Matters
Words by Carly Stoenner
To quickly answer this question, yes, surfing is a sport according to the International Olympic Committee (IOC). Surfing officially debuted as an Olympic sport…
The Endless Summer(s) Surf Movies
Words by Bodhi Surf + Yoga
American society is greatly influenced by its media outlets, especially movies. Every now and then there comes along a movie that although is a…